Tutorial 3
In this tutorial, we are interested in getting more layers and data for our maps. There are thousands of files available online, that amateurs, experts, academics and GIS specialists have come up with.
STEP 1: FINDING SHAPEFILES
As you probably remember from the first tutorial, there are handfuls of websites with many base layers available: Natural Earth Data, NHGIS (for US data), Vision of Britain (for UK data), China Historical GIS (for Chinese historical data), etc.
Harvard Worlmap has a lot to offer. It allows you to access an impressive amount of data projected onto Google Maps, you can play with layers by ticking and unticking boxes. In certain cases, you can download shapefiles by clicking on the Share option of each page.
Countries usually have their own official geographic source, such as USGS for the United States. However, there may be different official sources offering the same data under different formats (in the case of Scotland: the Scottish Government Spatial Data, data.gov.uk, Historic Scotland): you should double-check their accuracy, in case one of them offers more details than the other one.
However you might also want to look for more specialised data elsewhere. Google can actually help you find them. You can of course try out different terms in order to find what you are looking for, but you can also use an option that will only show a certain type of document. If you are looking for a shapefile, you should type at the end of your query filetype:shp. This works for any file format (filetype:csv, filetype:doc, filetype:xls, etc.).
For instance, if you are looking for shapefiles depicting lakes, you may type into Google:
lakes filetype:shp
Only documents named .shp will appear. This technique may be very useful but you will have to look for the right terms as there will be much fewer results!
STEP 2: IMPORTING SHAPEFILES
We are going to use the example of the city of Boston via a shapefile downloaded from this website. To add the shapefile, click on Add Vector Layer.
![]()
STEP 3: MODIFYING SHAPEFILES
Let’s pretend that there used to be a small house at the entrance of Boston Common. This example is purely experimental.
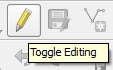 To start editing the shapefile you need to make sure the right layer is selected, then click on “Toggle Editing”. The aspect of your layer will slightly change: now each angle is selectable and editable. By zooming in onto the North-West corner of Boston Common you will see the angle of each building.
![]()
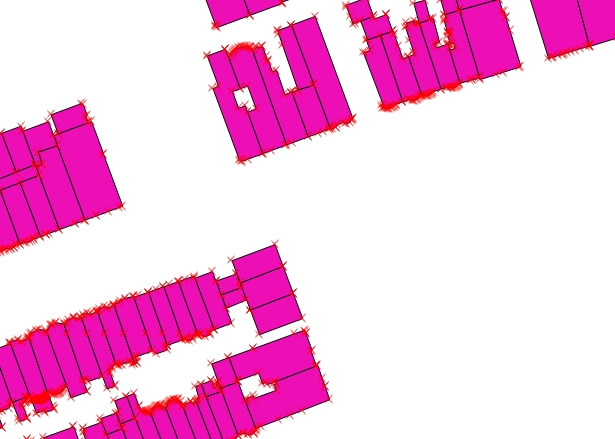
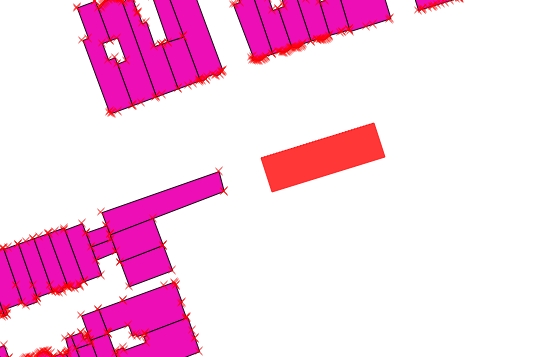
The toolbar along the Toggle Editing button allows you to edit your shapefile in certain ways, by adding new features, moving the angles, or deleting your selection. I want to extend one of the buildings, so I am opting for the Node tool option.
With this option, I am bringing each angle closer to the one that is depicted in the Constituency layer, so both can coincide. Each black arrow here shows what movement I need to make.
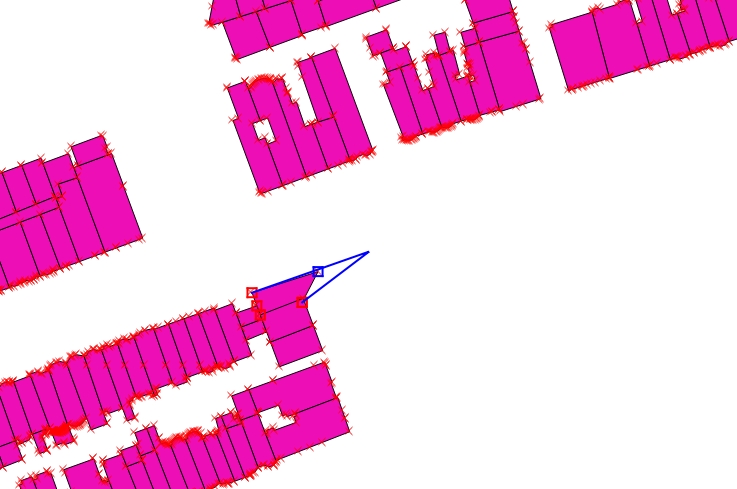
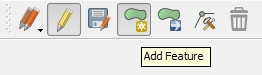 In addition to this building extension, we would like to add another building that used to stand along the entrance of the park. I am clicking on the Add feature button in the toolbar then drawing it with my mouse.
Right click when done. Other functions will allow you to separate buildings (Cut) or to move them completely on your map (Move).
Note: there may be very few situations in which you might want to do this. Indeed, you would need to know the exact location of this old house. If said house is an old map, you shall be able to follow the old map’s lines by georeferencing it. This is something you will learn to do in the next tutorial.
STEP 4: SAVING YOUR SHAPEFILE
Once you are done editing, click on the Toggle Editing button again, a message will ask you if you wish to save your shapefile. You must click on Save, otherwise the map will go straight back to the original layer.
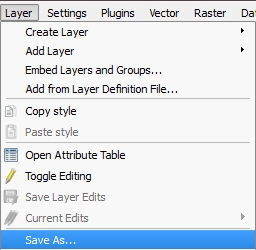
The process is a bit different if you wish to have both the original shapefile and the new one you came up with. To do so, click on Layer then Save as. The screen that will open will allow you to choose a new name. The Format and CRS, which we will see in another tutorial very soon, should be already preselected and you shouldn’t need to change these options. If you want to the new layer to appear on your map straight after saving it, make sure the Add saved file to map box is ticked.
One step further: merging layers with the Union feature
Last update: 26 May 2015 on QGIS 2.8.1 Wien.