Tutorial 1
If you have already opened QGIS, you will be probably facing a blank page with some sidebars and buttons to choose from. In this first tutorial, we are going to start with the very beginning of map making on QGIS. To get started you will need a base layer – some boundaries, limits, or natural elements that will structure your map and will help you define the scale and background of your map.
STEP 1: DOWNLOAD A BASE LAYER
Natural Earth Data offers a wide range of base layers to get started with. By clicking on “Get the Data” we will have access to a large choice of base layers. We will be choosing the most detailed type of Physical elements by choosing Large scale data, 1:10m, Physical.
Downloading Coastlines will be a great starting point. With coastlines we will be able to display all continents and islands of the world on our map.
Once the .zip file has been downloaded, open it with your standard uncompressing software or with WinZip. All the files will be extracted into a new folder. Always try to keep your QGIS folders tidy and organised in sub-folders for each layer or project, as your layer collection might grow quite quickly, depending on your project!
Note: you can save your project into a .qgs file (by clicking on Save or Save as). Keep in mind that your layers will not be included within that project file, so you will need to keep your layer files stored in the same folder.
Tip: Always keep track of your sources (= your layers), evaluate how accurate and official they are, and be always wary of any copyright. Layers may be created by official institutions or passionate amateurs: keep that in mind and make sure the layer you are downloading is fit for your project.
STEP 2: INSERT A LAYER ONTO QGIS
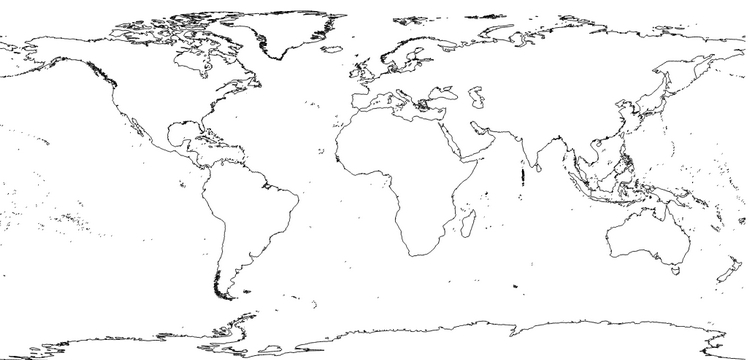
Now let’s open QGIS and try to display these coastlines. All you need to do is to click on the “Add vector layer” button and Browse your folders in order to load the coastline shapefile (.shp).
![]()
Your coastline file should be named ne_10m_coastline.shp. Open that file: it will be loaded onto QGIS. You now have a map with all the continents and islands of the world.
STEP 3: REPEAT THE PROCESS
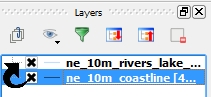
A blank map of the world will not get you too far if you wish to show naval trade routes in the 18th century. You will need extra elements before starting to map your data. Let’s add rivers to this map. Natural Earth Data has a very detailed collection of rivers and lake central lines . Let’s download the files and insert them again onto our map.
Tip 1: a digital map is, after all, a combination of chosen layers, each displaying a particular element.
Tip 2: as you can see, lakes are only materialised by a line that runs in the middle of it, since this layer is only made of lines. You will need to find another file that shows lakes in their full areas!
STEP 4: CHANGE THE STYLE OF YOUR LAYERS
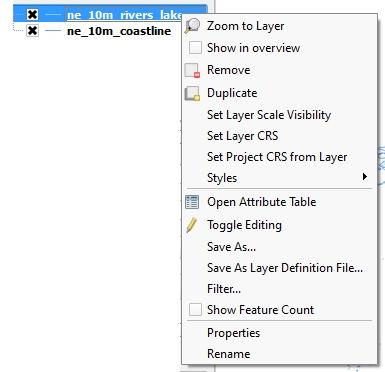
The map we have now is starting to be interesting, but the colour and style of these layers could be personalised. Each layer has a set of properties that you can edit. In your list of layers, right click on the layer you wish to edit, and choose Properties.
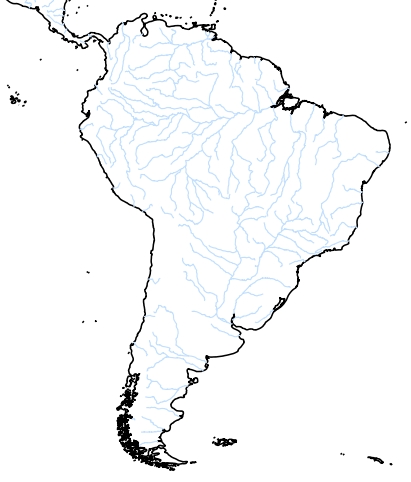
Under Style, you can change the colour, thickness, transparency, and style of your layer. Let’s make the coastlines a bit thicker (0.40 mm) and black, with slightly thicker (0.30 mm) blue lines for rivers. Don’t forget to click OK when done.
The result will be neater and closer to what you want to complete. Zoom on certain areas to double-check that the rendition is what you expected. For instance, here’s what South America looks like.
Tip: Sometimes you may not see any change after editing the style of your layer. Keep in mind that two layers may be on top of each other (for instance, coastlines and national borders). Your layer list has in fact a hierarchical order: you may shift a layer to the top if you want that layer to prevail.
One step further on this topic: Simplifying coastlines & Adding Raster Layers
Additional Resources
– Natural Earth Data: to download your first base layers
– Basic Raster Styling and Analysis: You may also want to come up with your own raster layer. This tutorial will show how.
Last update: 18 May 2015 on QGIS 2.8.1 Wien.
Next tutorial:
Point Vector Layers
How to depict points on a map