Tutorial 4
Whilst historians and geographers belong to two different domains, it is safe to say that most historians love maps: archives are full of them, and old maps often help us in highlighting a particular point or theory. Georeferencing is an exciting function that will allow you to turn a scanned map into a digital map with geographic references. This means that any scanned map that is reasonably accurate and modern will be able to be added to QGIS alongside other layers.
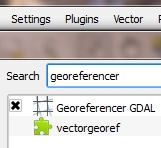
We are going to use the Georeferencer plugin in QGIS. Before we get started, make sure that yours is activated. Under Plugins, click on Manage and Install Plugins. A new window will open. Search georeferencer in the list, and make sure Georeferencer GDAL is ticked. Once this is done, close that window and come back to the main interface of QGIS.
STEP 1: FINDING A SCANNED MAP
You may have your own scanned maps that you collected in an archive or in a private collection. It is very unlikely that a photo you took in an archive will work, due to the angle you took it from. Equally, due to their rather imprecise measuring tools, maps from before the Enlightenment should not be accurate enough to be georeferenced.
I am choosing a map from the impressive David Rumsey Map collections. I have found a 1921 map of Switzerland that seems to be accurate enough: I can tell by the meridians and parallels being displayed. I am downloading the version that has the best quality (if you are using the David Rumsey website, click on Export and choose the Extra-extra large size).
The size of your file should be significant and download may take up to a few minutes. Unzip the folder once it has been downloaded.
STEP 2: INSERT YOUR MAP INTO THE GEOREFERENCER TOOL
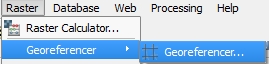
In QGIS, open the Georeferencer tool by clicking on Raster > Georeferencer > Georeferencer.
The Georeferencer window will then open. Forget about the main QGIS interface: this is where everything is going to happen until your map is fully georeferenced.
Click on Open Raster and select your picture. Remember that high resolution are preferable as you will need to zoom in on precise areas of your map.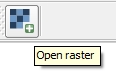
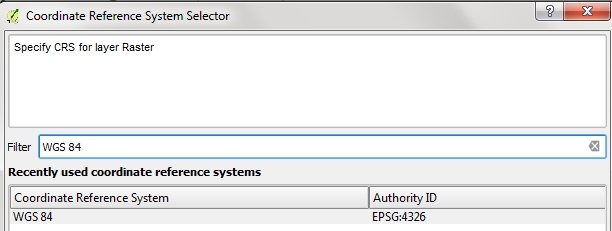
Once you have loaded your image, you will have to choose a CRS. This is something we will learn in the next tutorials. In the meantime, we will use the standard World CRS called WGS 84.
Your map is now loaded onto the Georeferencer.
STEP 3: GEOREFERENCING YOUR MAP
In order to georeference your map, QGIS needs to associate points of the scanned map with actual geographic values (i.e. latitude and longitude). To do so, click on the Add point icon.
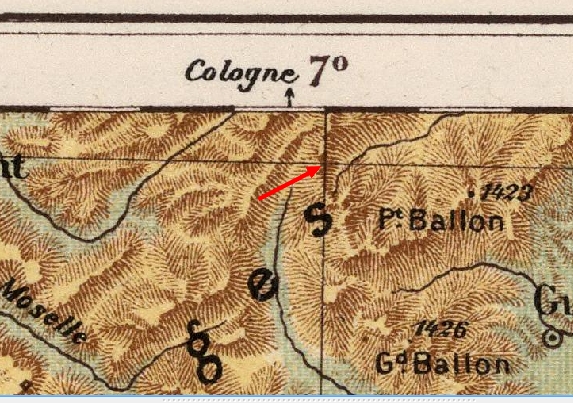
You need to find easy points to associate. The most obvious option is to pick where a meridian and a parallel meet. I am picking for example where the 48th parallel and the 7th meridian meet, as shown by the red arrow.
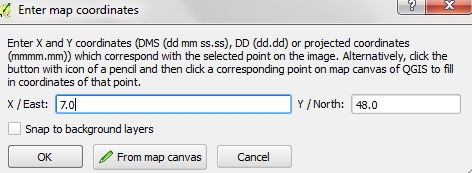
Once I have clicked on it, the Georeferencer tool is asking me what coordinates this point refers to.
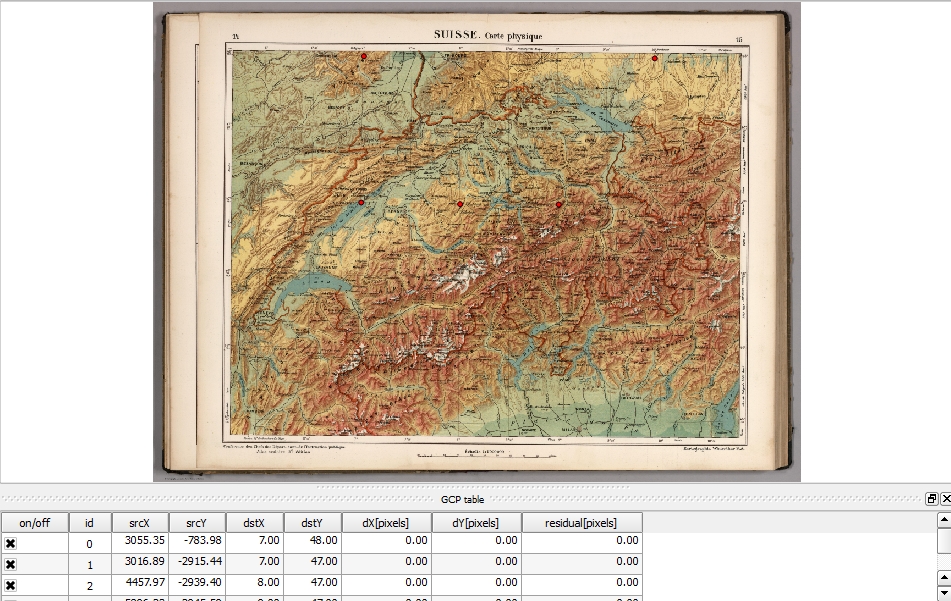
Click on OK. A little dot will appear on the place you selected. Do the same for at least 3 or 4 other points. The more points you will be giving, the better georeferenced your map will be. After doing this, your georeferencer will look like this.
Now that we have all these points, click on Settings > Transformation settings.
![]()
A box will open. Make sure the Transformation type is set to Thin Plate Spline and that Load in QGIS when done is ticked. You will also need to need to choose the name of your new raster (it will be turned into a .tif file).
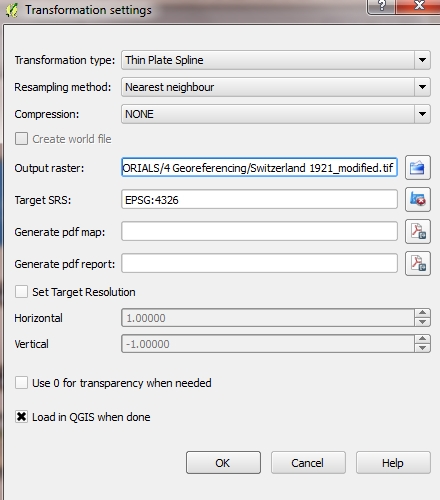
Please note that Transformation types and Resampling methods may vary depending on the type of map you have, but this is issue is too complex for this tutorial.
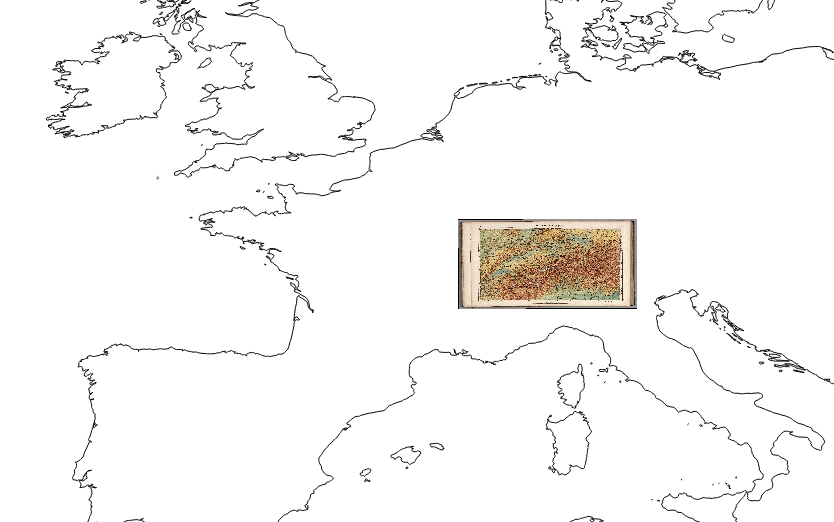
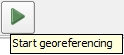 Click OK when done. It is now time to finalise the georeferencing process. Click on the Start georeferencing button. The process may take a few seconds. Once it is done, the map will be loaded onto QGIS and integrated alongside your other layers. In the case below, we can see the map of Switzerland within continental Europe.
STEP 4: VERIFYING THAT GEOREFERENCING WAS DONE WELL
Before using your georeferenced map, it is good to make sure the georeferencing process went well. My map seems to be where Switzerland is, but I need to make sure it will be reliable. Use other shapefiles to do so, and see if they match. You can use national borders, rivers, or any points. I am loading my Grand Tour cities (since Geneva is one of them) as well as European rivers.
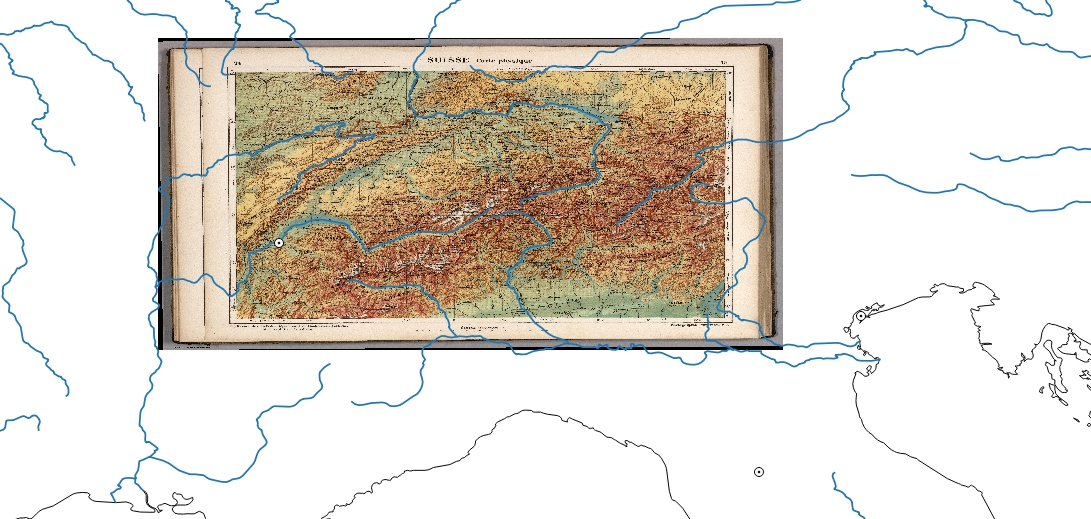
Zoom in on certain details to double check. If the result is far from being satisfactory, you may want to georeference the map again with more dots. If the layers mismatch only in certain areas, it could be because of your other shapefile and this could be edited and improved.
WHAT IF YOUR SCANNED MAP HAS NO COORDINATES?
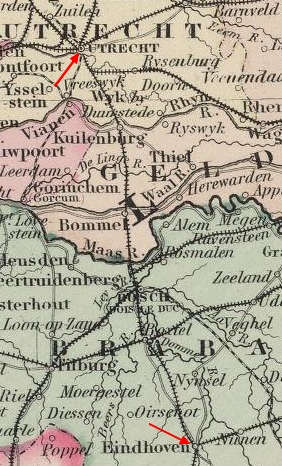
The above example is ideal as the map clearly indicates latitude and longitude. What if your map does not show any meridian or parallel, or the lines are too mild to be perfectly seen and identified?
You will then need to find other known coordinates on your map. For instance, an old map of Belgium and the Netherlands, like the one taken from this page, will probably depict medium-sized towns like Eindhoven, Utrecht, Ghent, Ostende. As it is easy to get the coordinates for those places (by simply double checking on Google Maps) you should have no problem in making up for those missing latitudes and longitudes.
Once again, pick as many places as possible to make sure your georeferencing is accurate. Try not to select big cities: they naturally comprise more points and this might affect the accuracy of your georeferencing process.
OTHER WAYS TO GEOREFERENCE A MAP
Maybe you think this is too much for your project, and you just wish you could see some old maps on a modern map in order to compare them. There are great online tools to do that – the most popular one being Georeferencer.com. Georeferencer is used by many mapping websites such as the David Rumsey collections and the National Library of Scotland’s Maps department.
Additional thoughts on Georeferencing
Last update: 19 June 2015 on QGIS 2.8.1 Wien.