Tutorial 5
Now that you have georeferenced your map, you may want to use it in order to extract information from it. In this tutorial we will learn how to turn some parts of your map into actual vectors and layers. We will be using the map of Switzerland that we previously georeferenced.
STEP 1: PREPARING YOUR MAP
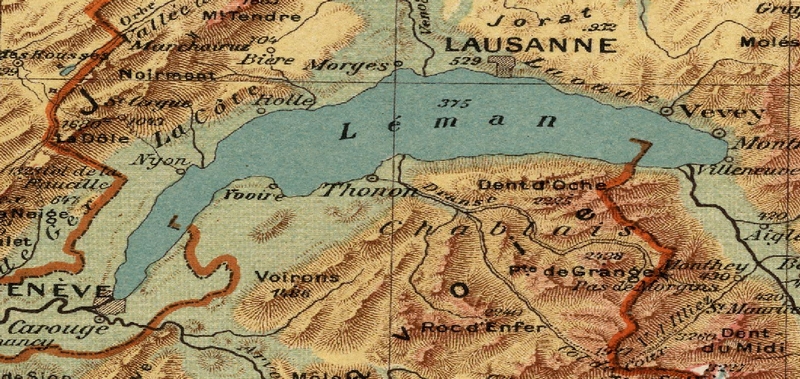
In this tutorial I would like to draw the boundaries of Lake Geneva and extract them as a layer. I am therefore zooming on Lake Geneva and making sure that the whole lake is still visible.
STEP 2: CREATING A NEW LAYER
![]() Select Layer > Create Layer > New Shapefile Layer. A new window will open. There are many options we need to decide on.
Select Layer > Create Layer > New Shapefile Layer. A new window will open. There are many options we need to decide on.
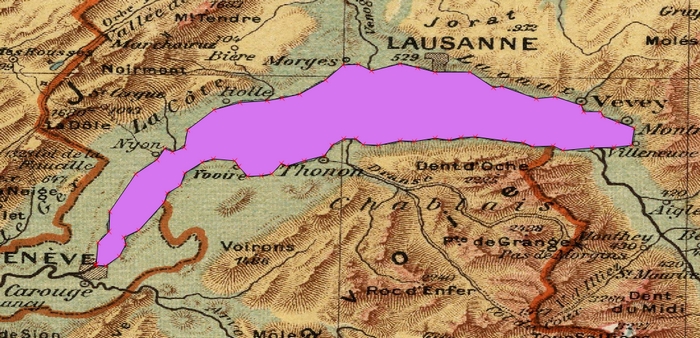
- Type: my new shapefile will be either made of Points, Lines, or Polygons. In the case of Lake Geneva, I have two options. I can either draw the boundaries of the lake in one line which will go all along its banks. Lines will be very important if I want to draw rivers, roads, or railways. The second option is to draw a polygon which shape will be exactly the same as the lake. This option will be very handy when you want to depict areas such as lakes, seas, forests, parks, etc. We will opt for this option then.
- File encoding: You should keep the preselected choice. In our case the projection will be in the standard global format CRS84. We will talk about projections in one of our upcoming tutorials.
- Name: Don’t forget to give a name to your new layer. Click on Add to Attributes list when done, then OK.
 Finally, after clicking OK, a new window will open so you can save your new shapefile in whatever folder you wish. Your layer is now added to your map, but of course it hasn’t been drawn yet. STEP 3: DRAWING YOUR LAYER Right click on the name of your new layer and activate Toggle Editing. Once this is activated I have many options available.

I am choosing “Add Feature”. With this option I can click on each angle of the lake, so the polygon created is exactly the same as the one drawn by the 1921 cartographer. Right click when done, give an id number to your first feature. In this case, I only want to depict Lake Geneva. Had my layer been about lakes of Switzerland, I could have decided to give Lake Geneva id 1, Lake Neuchâtel id 2, etc. The lake is now a digital layer.
If you are not happy with your polygon you can always personalise it or refine it with some of the other options in the toolbar. More complex shapes can be created by adding/deleting rings, splitting features, etc. Once you have clicked on Toggle Editing again, your layer must be saved and is now ready to be used as a normal shapefile. For instance, I have personalised the colour of the shapefile and inserted it along with rivers, national borders, coastlines, and the Grand Tour cities that I had previously listed. 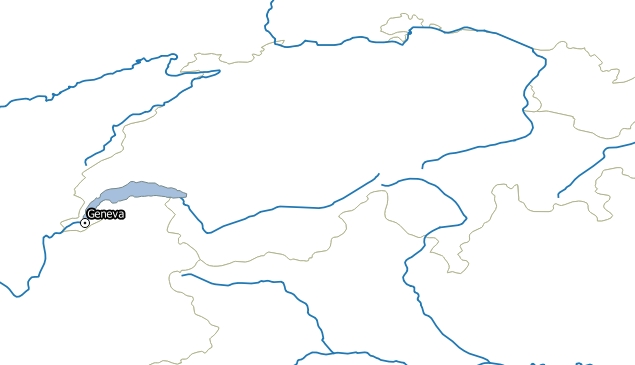 Last update: 27 April 2015 on QGIS 2.8.1 Wien.