Tutorial 10
Once you have come to a stage where your map is in line with how you had imagined it, you need of course to export it so you can use it on your computer, in a website, or as part of a research publication.
STEP 1: MAKE SURE THE MAP IS UP TO YOUR EXPECTATIONS
You will need to centre your map on the area you want to export. Not all the data will be exported on QGIS – only the area that is visible on your window.
Make sure that you are using the right CRS and that your map.
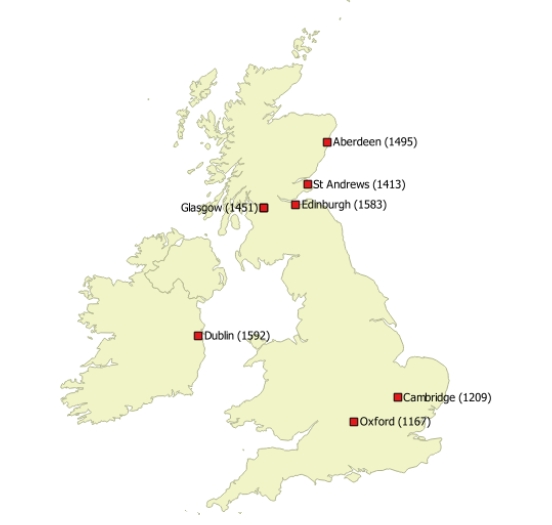
All I can see on QGIS is the British Isles. It is too zoomed in to see the rest of the world.
I can also get rid of other parts of the globe by performing queries.
STEP 2: OPEN THE PRINT COMPOSER
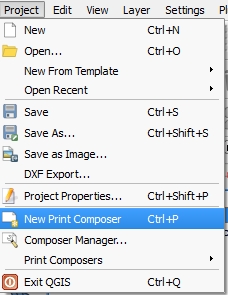
You then need to click on Project then on New Print Composer.
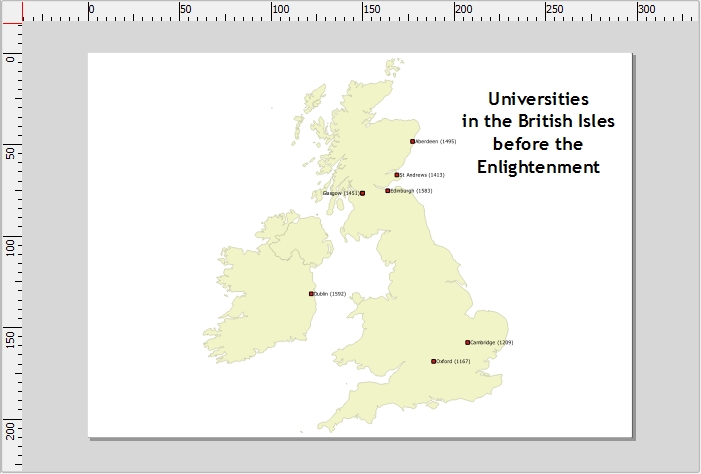
At that point you need to create a title for this map. I choose Universities in the British Isles before the Enlightenment. Immediately after clicking on OK, the print composer opens. Go to Layout and click on Add map then drag a rectangle on your print composer, this is where your map will be inserted as soon as you cease to drag the rectangle.
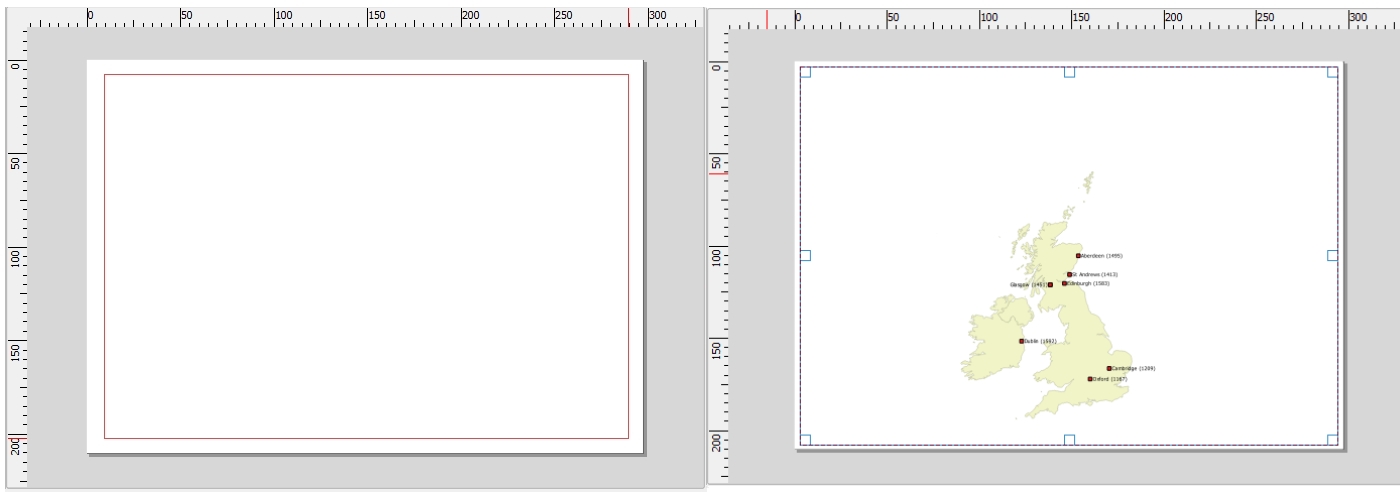
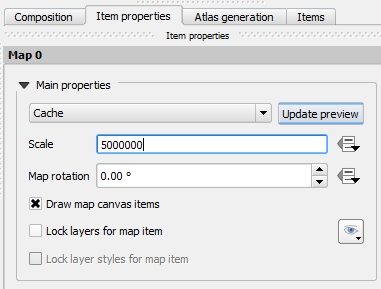
![]() If the map is not quite centred on the content you wish to display, you can always click on Layout and Move content in order to focus on your desired area. If you wish to zoom your content in or out, you can set the scale in the Item Properties tab on the right. The bigger the number, the more global the scale. Don’t forget to Update Preview when done.
If the map is not quite centred on the content you wish to display, you can always click on Layout and Move content in order to focus on your desired area. If you wish to zoom your content in or out, you can set the scale in the Item Properties tab on the right. The bigger the number, the more global the scale. Don’t forget to Update Preview when done.
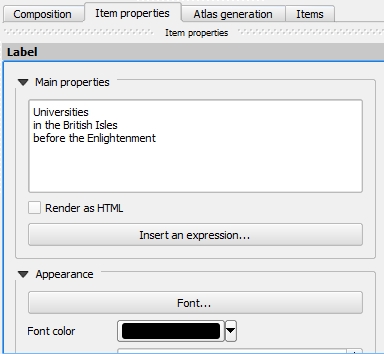
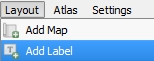 Once our map is satisfactory, you may want to add the title that you previously wrote down. Under Layout, click on Add Label and drag a rectangle where you want your title to appear. The Label window will appear on the right, where you will be able to type your title again and edit its appearance.
Our map is now ready to be exported. It is a very simple map and there are additional features you may want to use – please check our additional resources if you wish to.
Finally, when ready to export, click on Composer. You then have three options.
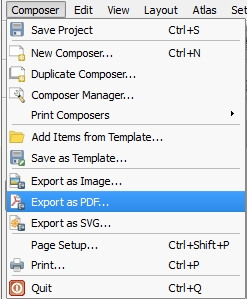
- Export as Image: you can turn the map into a .png, .jpg, .tif or any other image file type. This will be a good option if you don’t want to edit the map in the future and if you want to insert it straight into your work.
- Export as PDF: this alternative is similar to the previous one, except that your map will be a PDF file. It will offer very good zooming possibilities to those who will receive the file.
- Export as SVG: the most flexible option. Find out more in our “One Step Further” tutorial.
Last update: 20 May 2015 on QGIS 2.8.1 Wien.
This was our final tutorial, we hope you enjoyed them.
If you have any questions or requests, please contact us.